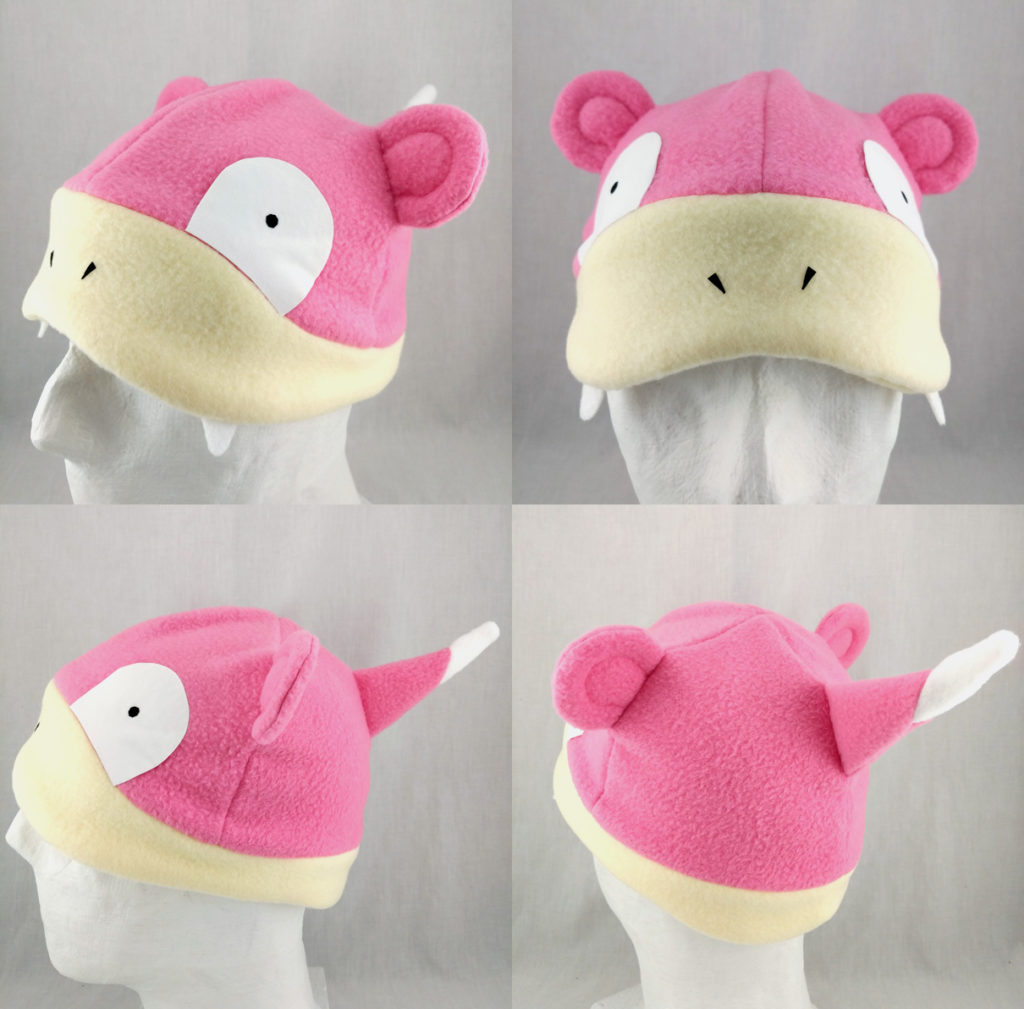
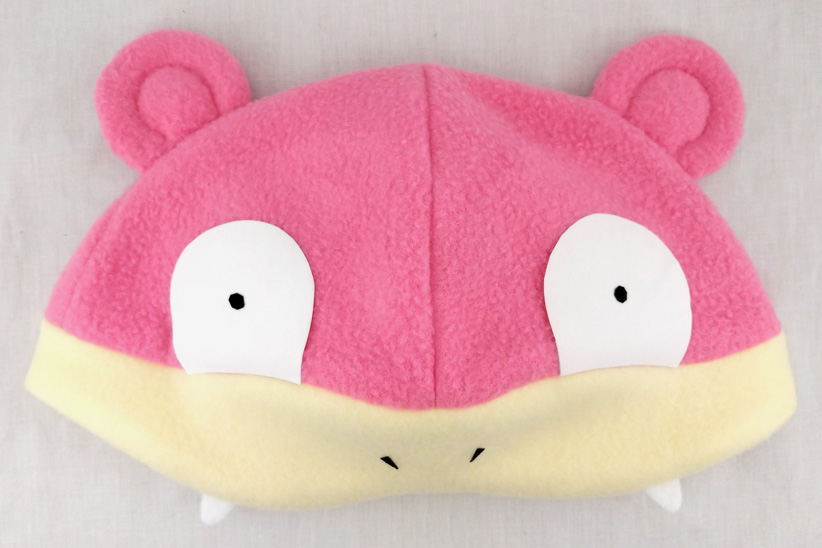
Slowpoke is everyone’s favorite derpy pink gen 1 Pokemon. Download the free pattern and make your own Slowpoke hat to wear on those days you’re feeling extra listless or carefree. Hopefully you won’t procrastinate finishing it as badly as I did.
Patterns
The PDF pattern is multi-page and designed for printing on US Letter sized paper. Larger pattern pieces may be split across pages. Use the cut marks in the corners of the pages to help you cut away the print margin and then tape the pieces together.
The SVG pattern is arranged in a continuous sheet for easier editing.
Materials
The fleece list includes particular colors and vendors I used to make the photographed hat. You are free to substitute any color and vendor of your liking.
Fleece
- Pico Textiles Anti-Pill Fleece – Bubble Gum
- Joann Fabric Anti-Pill Fleece – White
- Joann Fabric Anti-Pill Fleece – Pale Banana†
The Pico Textiles fleece is a fairly thin lightweight fleece, and the Joann anti-pill is a medium-weight fleece. Note that Joann has discontinued their original line of anti-pill fleece and replaced it with a plush variant, which is even thicker and with differing texture. Pico Textiles Butter Yellow would be a close color substitution.
Pale Banana is the closest match I could get to the sandy color of Slowpoke’s mouth.
Flock
- StripFlock – White
- StripFlock – Black
StripFlock is a fuzzy iron-on vinyl made by Siser, but you can use sheets from any vendor if you can find them. Flock is used for facial features like eyes.
Gluing or sewing craft felt or fleece layers is an option that can be pursued in place of flock, but flock will provide the cleanest finish.
Other
- Poly-fil
- White craft felt
Stuffing the tail with a small amount of poly-fil will help keep Slowpoke’s tail from falling to the side, but this is optional. White craft felt is used for Slowpoke’s teeth.

Design Notes
- Slowpoke features an uneven band width around the head, emphasizing Slowpoke’s mouth shape. The band will sit above or partially cover the wearer’s ears.
- This hat is designed with 4 crown panels to accommodate sewing in the ears and tail.
Build Notes
- Don’t forget to place the teeth before sewing up the bottom seam of the band.
- Sew the white tail tip to the tail base before sewing the tail lengthwise. Add a little poly-fil stuffing after you turn it right-side-out.
- Sew the ears together and add a little poly-fil stuffing after turning them right-side-out. Then switch your machine to pink thread, and carefully sew the ear’s curl detail. The poly-fil will help this feature stand out.
- Sew the front two halves and back two halves of the crown, giving you a front half and back half (don’t forget to sew the tail in to the back).
- Sew the two halves together with the ears embedded in the seam.
- Take extra care when sewing the crown to the band, because the top of the band is not an even line and the pieces will not lay together as easily as they normally would.
Did you make your own hat with these designs? Share it with me on Twitter or Instagram!
