Mannequin update

In my previous posting, I talked about my big fail trying to create a crude mannequin of my own head.  Picking the wrong filling strategy (spray foam) quickly led to a total loss of the project.  That’s super annoying, but the time investment to get to that point was only a couple hours, so I gave it another shot.

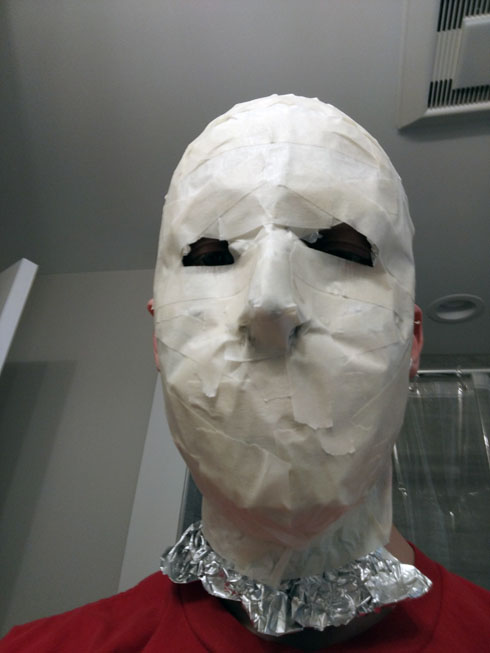
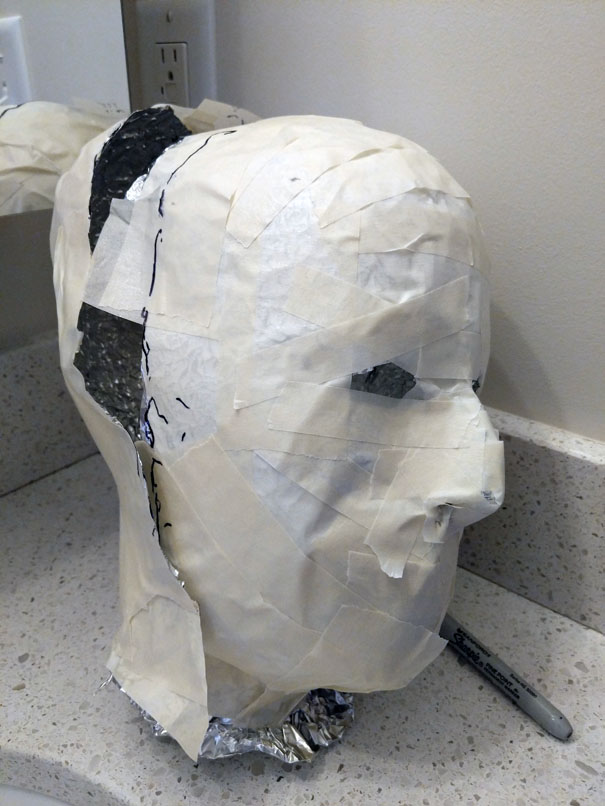
The masking tape process probably came together a bit better this time, leveraging my earlier experience.  Combining the two haves on the other hand was trickier for reasons I don’t understand.

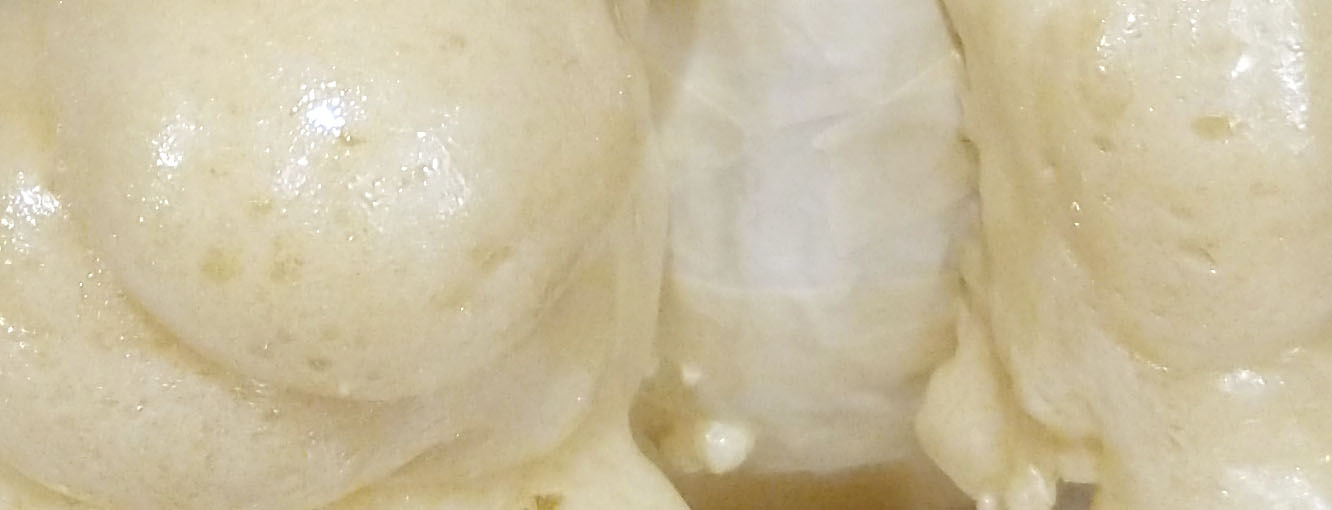
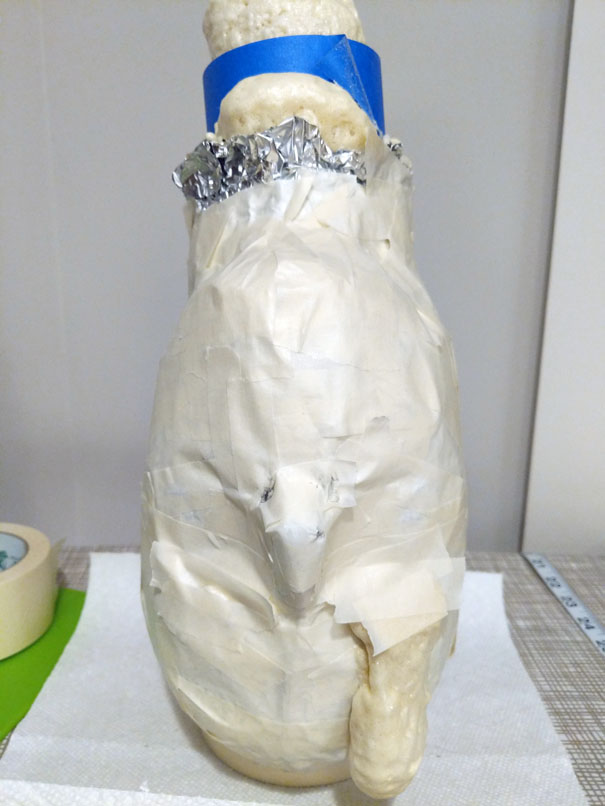
For filling, I tried to stick to the method in the video guide.  I still didn’t have any stiff packaging Styrofoam, but I did have an old box full of packing peanuts.  I haven’t seen packing peanuts actually used in shipping in years, so it’s probably not a common thing to have on hand.  I had a few different kinds mixed together in my box.  S-shaped peanuts.  Figure-8 peanuts.  Peanuts that look like beige cheesy poofs.  The poofs are made of cellulose and dissolve in water, so they’d be a bad fit for this project.  They were also way squishier than the others.  I went with the S-peanuts exclusively since they were firmer and they broke up into small pieces very easily.

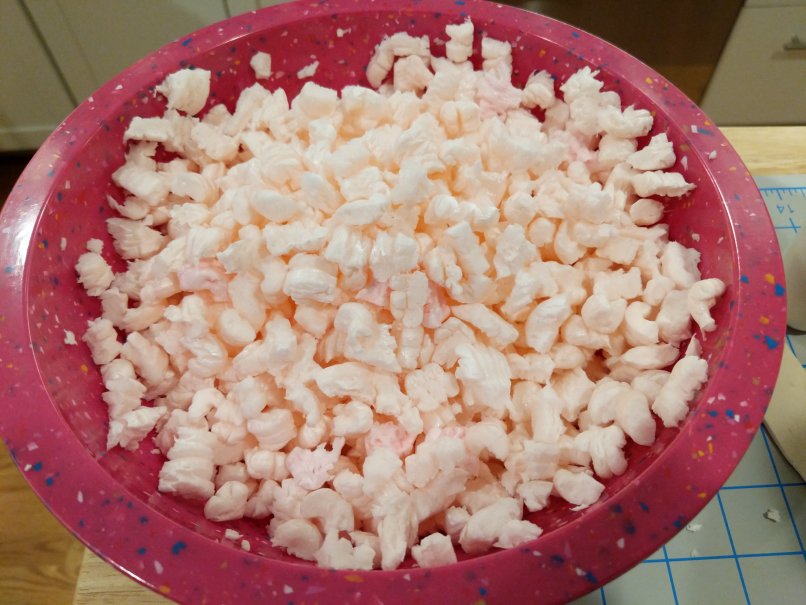
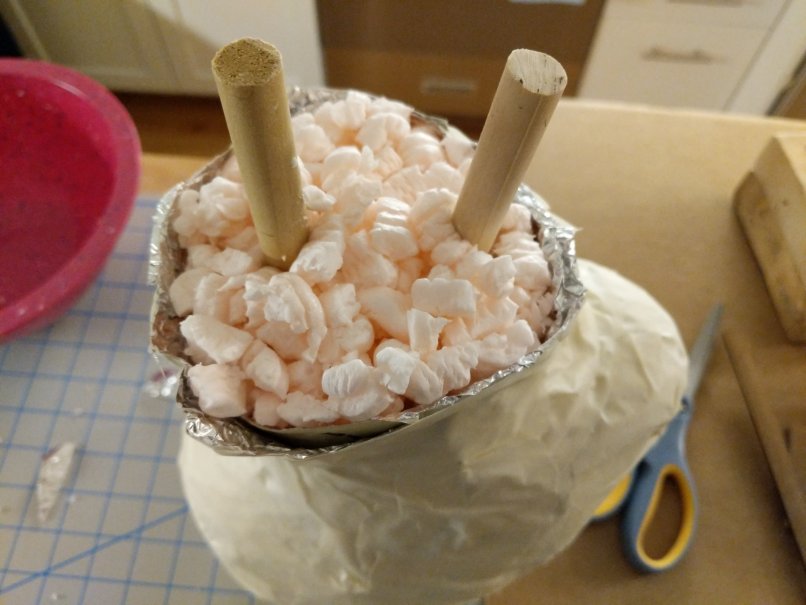
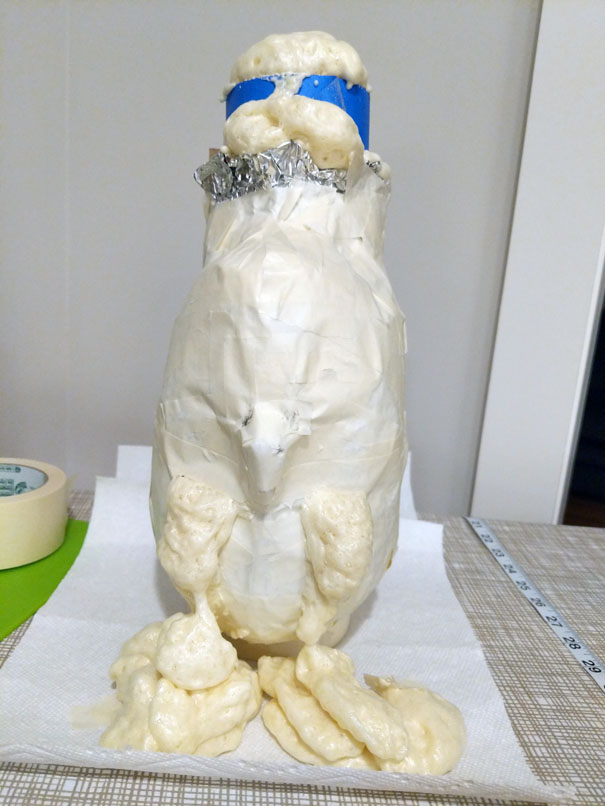
After filling a bowl with broken up peanuts, I mixed small batches with Elmer’s glue and then packed them into the head.  With the cardboard supports in the way, it was difficult to direct the filling into all the spaces deeper in the head cavity.  This only got worse after inserting 2 wooden support dowels halfway through.  I ended up using about 4 mixing bowls worth of peanut bits before filling it to the top.  After leaving the glue-soaked bits to cure over night, the head still felt really soft, and stiffer Styrofoam chunks would have probably been better in this case.

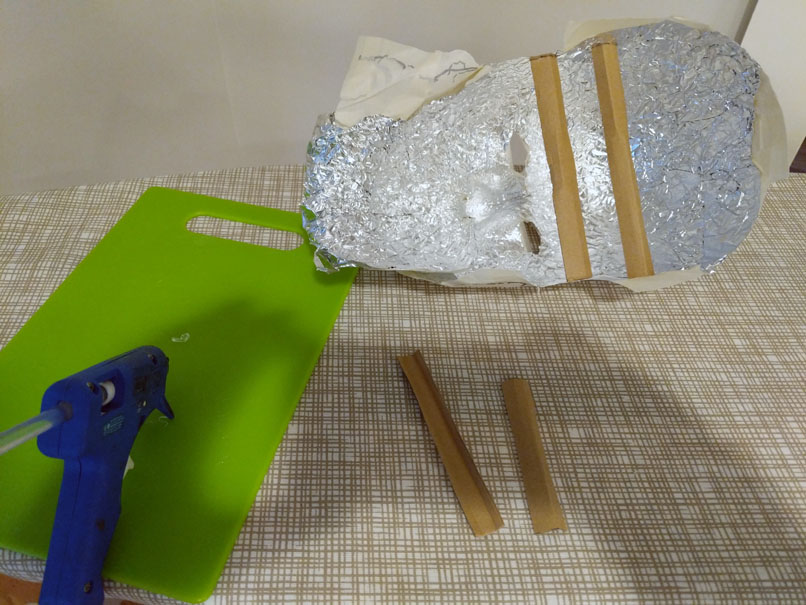
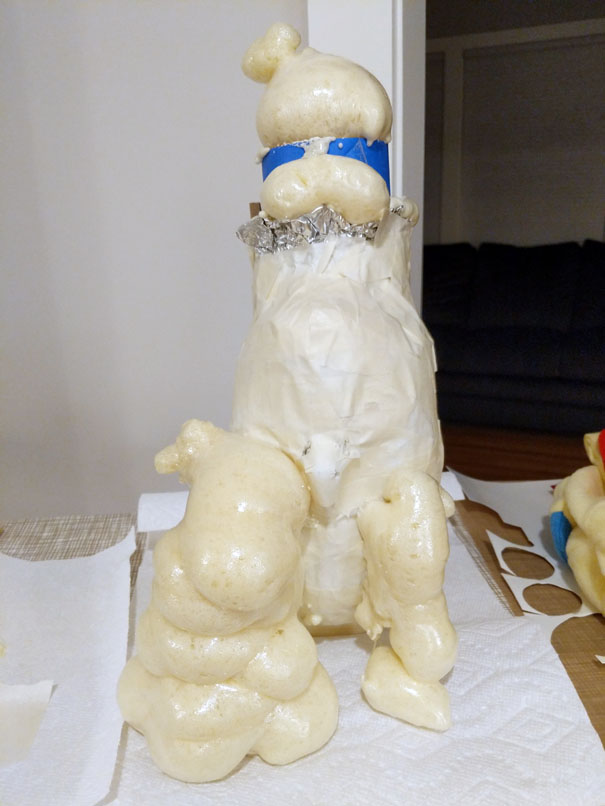
For the base, I didn’t have any more spent tape rolls lying around.  I sacrificed my only one on the previous disaster.  For a substitute, I cut two square pieces from 2×6 framing lumber, stacked them, and drilled two 3/4 inch holes.  Stacking the two pieces gave me enough height to insert the wooden dowels without hitting the table below.  The base and perimeter of the “neck” was glued down with hot glue.  The drilled holes were wider than my dowels, so I injected hot glue into the remaining space to lock the dowels in place.  It’s a nice stable base and I think it’s better than the tape roll method.

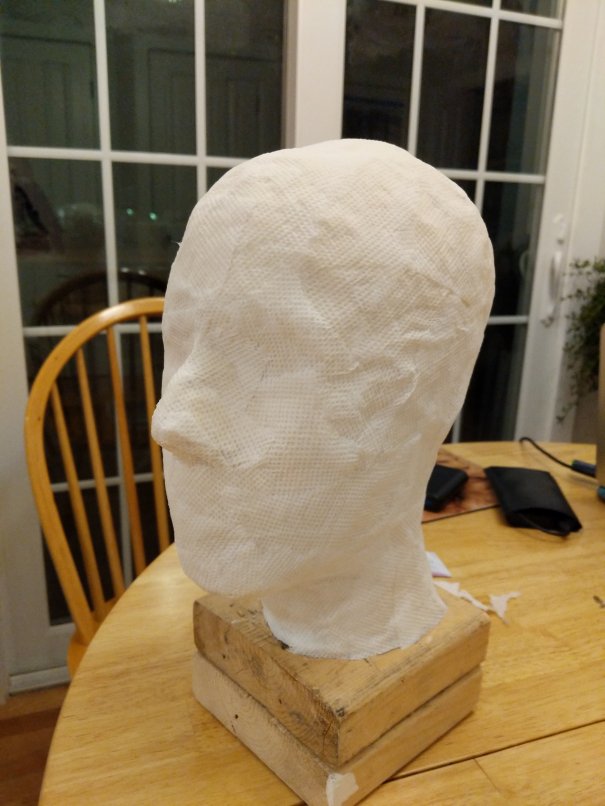
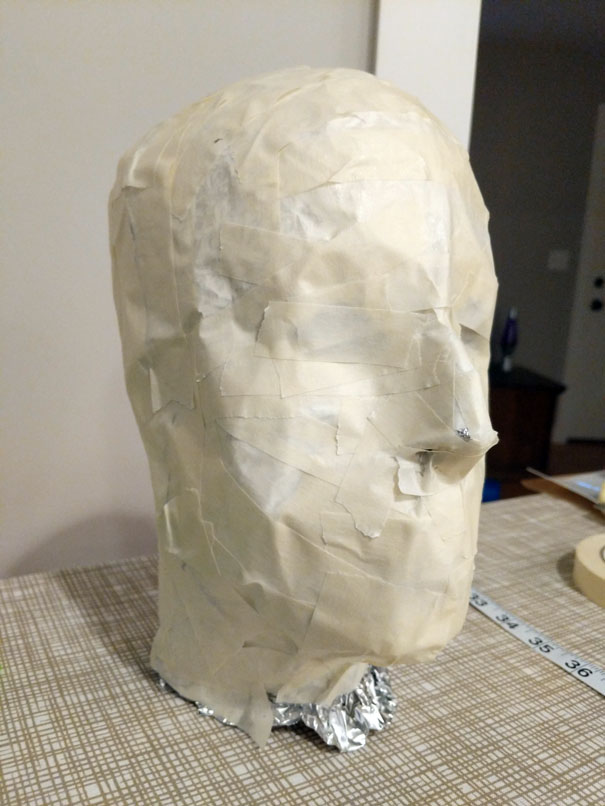
I followed the rest of the recipe to the letter.  I coated the head in “paper towel gauze” with brushed diluted Elmer’s glue.  This was also the place to make some minor corrections, like filling a wide dent in the forehead I created when I had it upside down for filling.  Once the head was allowed to dry overnight, I painted over it with some ceiling paint I had on hand.  I ended up with a lot of small cracking in the paint after it dried, so I probably applied the paint too thick.  Though the paint was a bit old and I suspect not in great condition.  The wet paint ended up softening the shell, but the end result is firm.  I’m not planning to test that with any significant force, but it should be usable for projects.

The self-mannequin fail

I started attending MAGFest in 2017.  For the two years I’ve gone, I’ve brought a cosplay with me.  First was Gumo from Ori and the Blind Forest, which was a fun but time consuming project.  Then there was Monster Kid from Undertale, which was a fun and much easier costume.  With MAG 2018 behind us and the next one to look forward to, it’s time to start planning my next creation.  (Spoilers, I want to try and do Scyther)

Beyond the very initial planning, which included partially assembling a paper craft, the first step is to create a reasonably good approximation of my own head.  An auto-mannequin, if you will.  After a little bit of looking, I decided to try this approach by Youtuber Dali DIY:

The gist of the process is you cover your face in aluminum foil, then fully cover it in layers of masking tape.  The two halves are crafted separately and then rejoined after taking some measurements of your own head.  By the way, if you need to measure your head, I found that a speed clamp works pretty well.  It’s like a giant, less precise pair of calipers that you can clamp over your noggin, then measure with a ruler.  Once you have your measurements, you cut some cardboard supports to glue inside and then recombine the halves.  Once that’s good, you need to pack it with a filler.  Dali uses a mixture of broken up Styrofoam bits and PVA (Elmer’s) glue.  Pack the head, insert some support rods, mount it on something stable, and let it dry.  The mannequin is further reinforced by covering it in strips of paper towel soaked in Elmer’s.

It’s rough and sloppy, but uses materials most of us have hanging around so it’s pretty cheap to try.  And for making a bulky Pokemon head, rough should be good enough.

I started the process and it was going pretty well up through recombining the foil/tape halves with supports.  Here’s a few pictures of that process.

But then I decided to change the script.  I don’t have any styrofoam hanging around — I try to get rid of that stuff as fast as possible.  And I don’t think I have enough glue either.  And it looks like a pretty messy and time-consuming process to keep mixing up the foam and glue and stuff and pack that head mold.  So what else do I have on hand that looks like a good candidate?  Expanding spray foam!

In theory, I just shake up the can, spray it in the head, and let it expand to fill the cavity.  All the excess foam can bubble and push its way out of the neck hole, and I’ll saw it off later.

Oh … oh god … what is going on … no … stop … aaaaaagh.

Well my first mistake was underestimating how much the foam would expand from its initial volume.  It didn’t take long for the foam to break through the meager strips of tape covering my eye holes, oozing out and hardening in a foamy reenactment of the Chernobyl elephant’s foot.  This went on for hours, and when it finally stopped and I cut off one of these eye pillars, the foam just started oozing again.

And this gets to the second and more fundamental mistake: expanding spray foam is not suitable for an enclosed cavity.  Like a foil-lined head mold.  Spray foam needs to react with moisture in air to expand and cure.  With no source of moisture, it will remain in its frothy, volatile, semi-liquid state.  Potentially forever.  And after a day of letting this thing sit, the head readily caved in to even light pressure applied.  The foam wasn’t curing, and now I have this nasty horror show of elephant-foot-face sitting on my counter.

If you’re working on a project and learning as you go, I don’t think it’s a bad thing to try and go off script.  You might discover something cool.  But maybe reconsider if you’re on a tight deadline.  It might just melt down in front of you and you’ll have to start over from scratch.